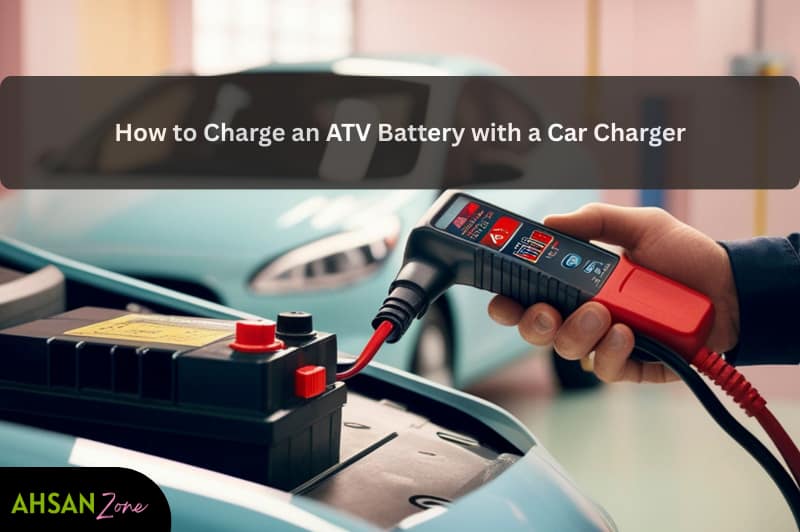
How to Charge an ATV Battery with a Car Charger (Complete Practical Guide)
ATVs rely heavily on their batteries to start the engine and power essential electrical components such as headlights, taillights, digital displays, winches, and auxiliary accessories. While the ATV’s charging system replenishes the battery during operation, it is often not enough, especially for vehicles used seasonally, ridden short distances, or stored for long periods.
A dead ATV battery is a common issue across the U.S., particularly during winter storage or after long idle periods. In such situations, many owners ask a practical question:
Can you charge an ATV battery with a car charger safely?
The short answer is yes, but only if it’s done correctly. This guide explains everything you need to know—from battery types and charger settings to step-by-step charging procedures and safety precautions—so you can charge your ATV battery without damaging it.
Do ATVs Recharge Their Own Batteries?
Yes, ATVs recharge their batteries while running, but the system has limitations.
Unlike cars, ATVs use smaller stators and charging systems designed primarily to maintain charge, not recover a deeply discharged battery. Short rides, low RPM use, or frequent accessory usage can leave the battery undercharged.
Common reasons ATV batteries go dead:
Long storage without a maintainer
Cold weather reducing battery capacity
Running accessories at idle
Old or sulfated batteries
Faulty stator or regulator
When this happens, an external charger becomes necessary.
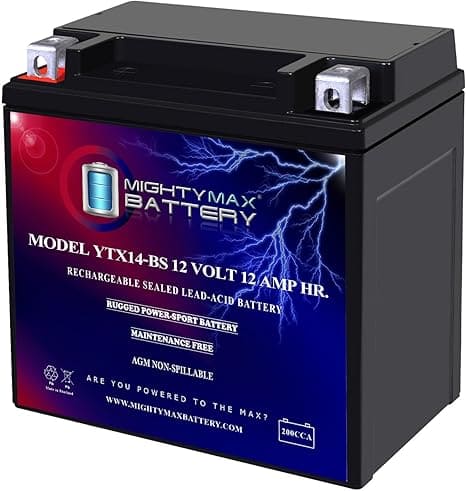
Can You Charge an ATV Battery with a Car Charger?
Yes, you can charge an ATV battery with a car charger if the charger allows low-amp output control.
Key electrical difference:
| Feature | ATV Battery | Car Battery |
|---|---|---|
| Voltage | 12V | 12V |
| Cold Cranking Amps (CCA) | Low | High |
| Charging Amps Required | 1–3 Amps | 6–10+ Amps |
| Size | Small | Large |
ATV batteries are far more sensitive to high current. A standard car charger set to 10 amps or higher can permanently damage an ATV battery through overheating or plate warping.
Best Car Charger Settings for ATV Batteries
To safely charge an ATV battery using a car charger, it must meet these minimum requirements:
12-volt charger
Adjustable current output
1–3 amp charging range
Preferably automatic or “smart” charging mode
Recommended Charger Features
| Feature | Why It Matters |
|---|---|
| Low-amp mode (1–3A) | Prevents overheating |
| Automatic shut-off | Avoids overcharging |
| AGM/GEL/Li-Ion modes | Battery-specific protection |
| Float or maintenance mode | Ideal for storage |
Types of ATV Batteries and Charging Compatibility
Not all ATV batteries are the same. Identifying your battery type is critical before charging.
1. Flooded Lead-Acid (FLA)
Requires distilled water maintenance
Most tolerant of basic chargers
Must be monitored closely
2. AGM (Absorbent Glass Mat)
Maintenance-free
Sensitive to overcharging
Requires controlled voltage
3. Sealed AGM (Factory-Activated)
Vibration-resistant
Permanent damage if overcharged
Best with automatic chargers
4. Gel-Cell Batteries
Extremely sensitive
Overcharging traps gas bubbles
Must use GEL-compatible chargers only
5. Lithium-Ion (Li-Ion)
Lightweight and powerful
Requires Li-Ion-specific charger mode
Never use standard lead-acid settings
What You’ll Need Before Charging
Before starting, prepare properly to avoid injury or battery damage.
Checklist
Well-ventilated area (garage door open or outdoors)
Access to the battery (under seat or panel)
Correct charger with adjustable amps
Protective gloves and safety glasses
Clean cloth or wire brush
Voltmeter (recommended)
Important: Charging batteries can release hydrogen gas, which is highly flammable.
Step-by-Step: How to Charge an ATV Battery with a Car Charger
Step 1: Turn Everything Off
ATV ignition OFF
Charger unplugged
No accessories connected
Step 2: Access and Inspect the Battery
Remove seat or cover
Check for swelling, leaks, or corrosion
Do not charge a damaged battery
Step 3: Clean the Terminals
Wipe dirt and corrosion
Ensure dry, solid contact points
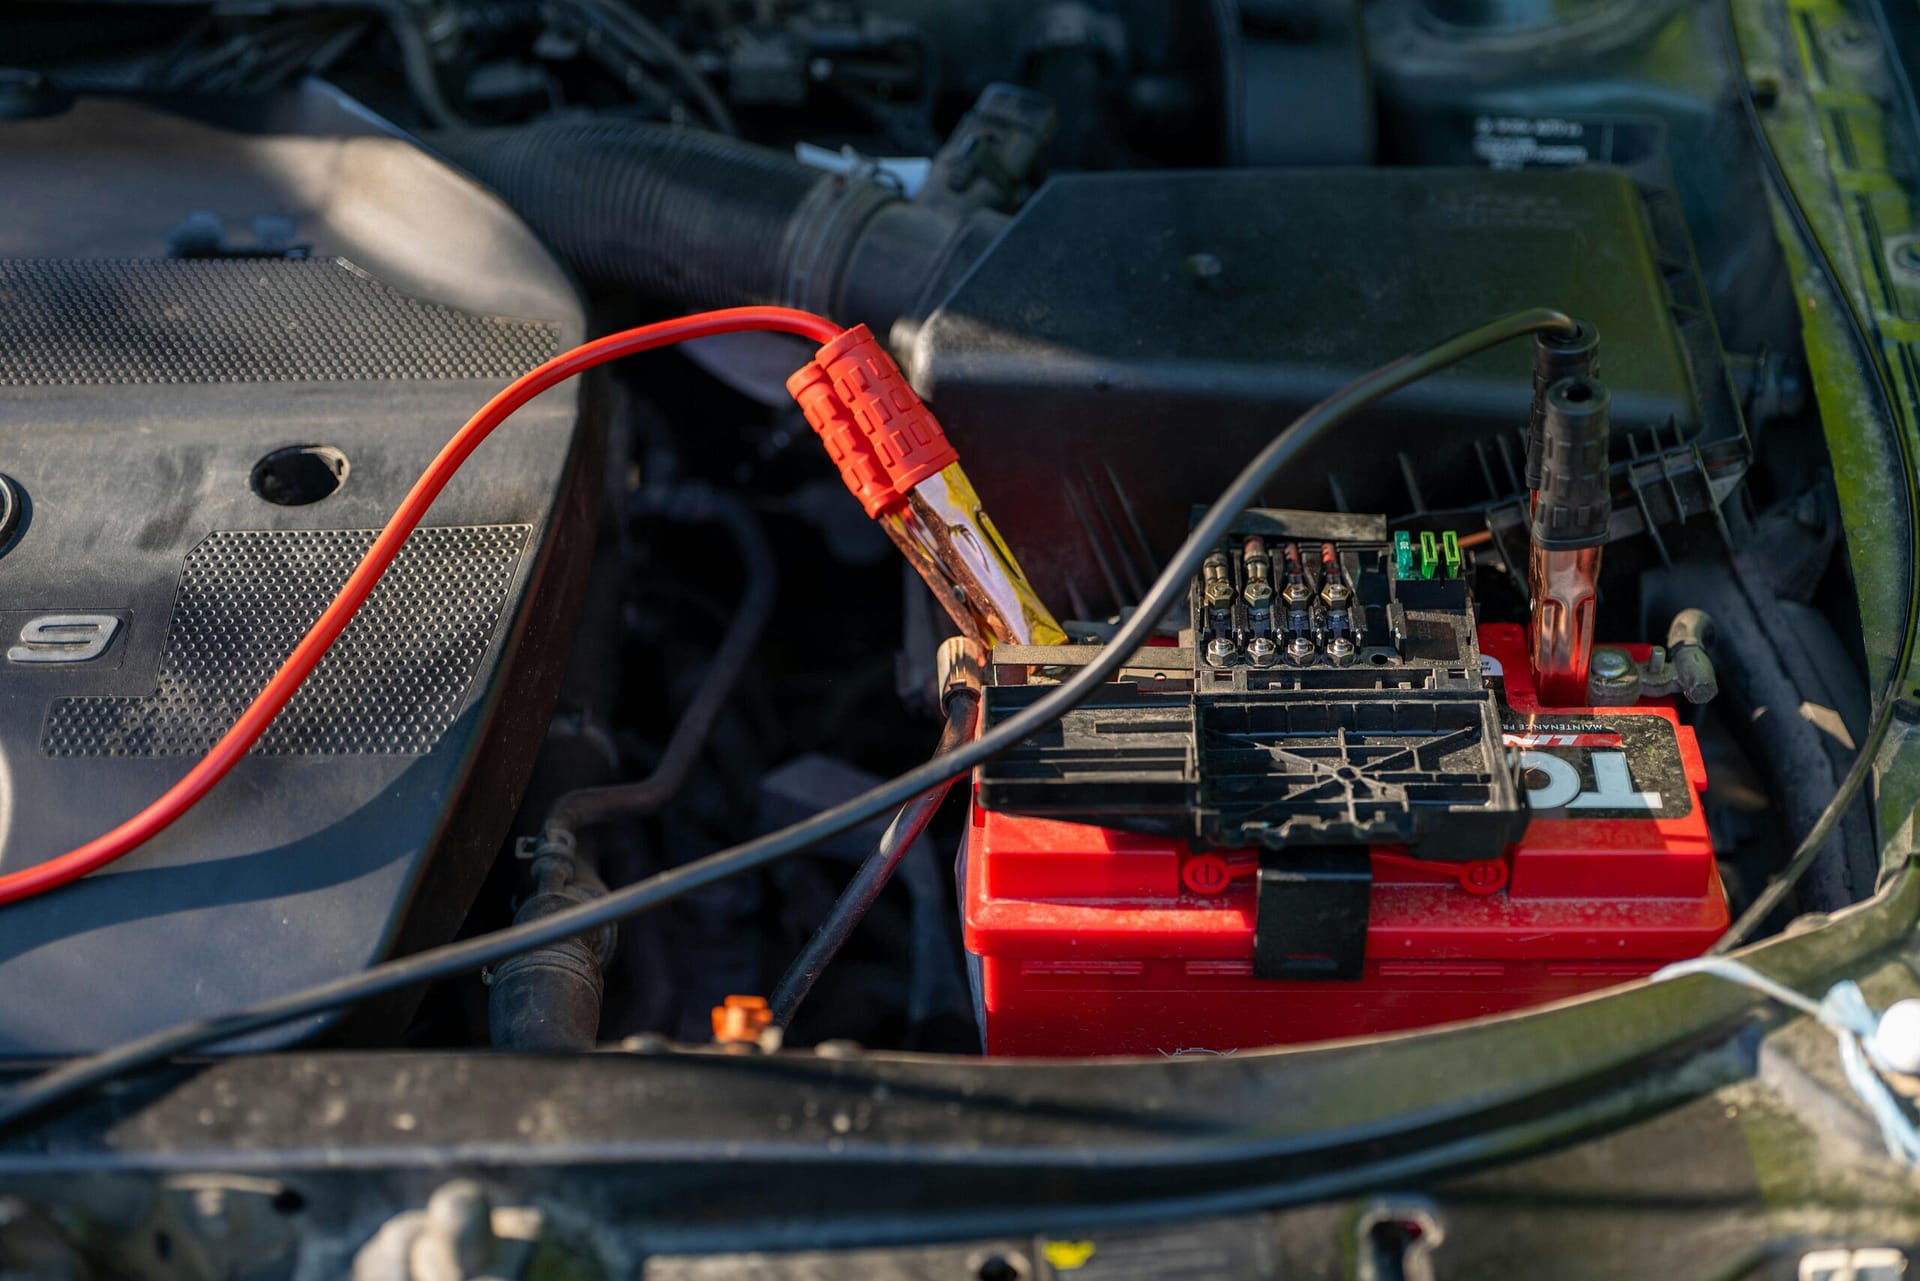
Step 4: Connect Charger Cables
Red clamp → Positive (+) terminal
Black clamp → Negative (–) terminal
Never reverse polarity.
Step 5: Set Charger Output
Voltage: 12V
Amps: 1–3 amps only
Select battery type mode if available
Step 6: Start Charging
Plug in the charger
Begin charging
Monitor voltage periodically
Step 7: Monitor the Process
Normal charging voltage: 12.6–12.8V
Charging voltage (AGM): 13.8–14.4V
If battery becomes hot, stop immediately
Step 8: Finish and Disconnect
Unplug charger first
Remove black clamp, then red
Allow gases to dissipate before closing panels
How Long Does It Take to Charge an ATV Battery?
| Battery Size | Charger Amps | Approx. Time |
|---|---|---|
| Small (6–8Ah) | 1A | 6–10 hours |
| Medium (9–12Ah) | 2A | 6–8 hours |
| Large (14Ah+) | 3A | 5–7 hours |
Deeply discharged batteries may take longer.
Common Charging Mistakes to Avoid
Using 10A+ car charger settings
Charging without ventilation
Charging frozen batteries
Ignoring battery type
Leaving charger unattended overnight
Jump-starting instead of slow charging
Safety Guidelines (Very Important)
Always charge in a ventilated area
Wear gloves and eye protection
Keep sparks and flames away
Never smoke near batteries
Do not overcharge
Stop immediately if battery heats up
FAQ – ATV Battery Charging
Can you charge a 12-volt ATV battery with a car charger?
Yes, as long as the charger is set to 1–3 amps.
Do ATV batteries charge while riding?
Yes, but slowly. Short rides often don’t fully recharge the battery.
Can I leave the charger connected overnight?
Only if the charger has automatic shut-off or float mode.
Is jump-starting safe for ATV batteries?
Not recommended. It can damage the battery instantly.
How do I know my ATV battery is fully charged?
A resting voltage of 12.6–12.8 volts indicates full charge.
Conclusion
Charging an ATV battery with a car charger is safe and effective when done correctly. The key is low amperage, proper battery identification, and careful monitoring. ATV batteries are smaller and more sensitive than car batteries, so controlling the charging process is essential.
If you follow the steps outlined in this guide, you can extend battery life, prevent costly replacements, and keep your ATV ready for every ride—whether it’s trail riding, work use, or seasonal recreation.