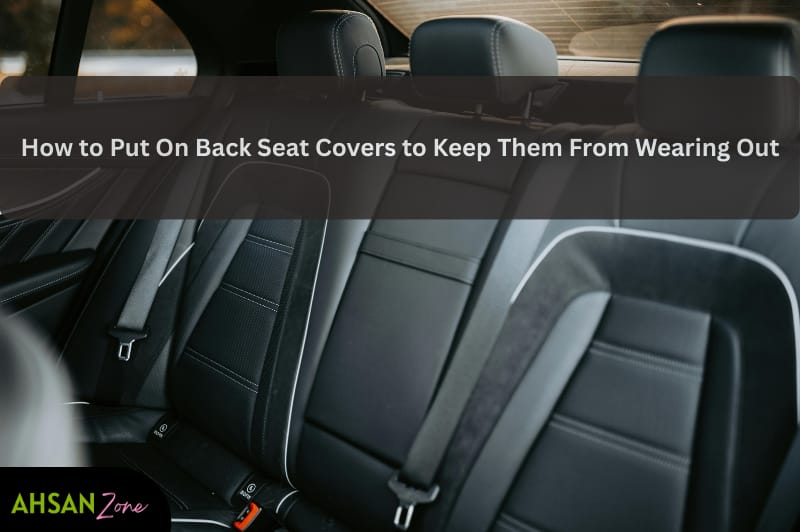
How to Put On Back Seat Covers to Keep Them From Wearing Out
Back seats take more abuse than most drivers realize.
Kids, pets, groceries, spills, and constant friction slowly break down the seat material. Over time, even premium leather or fabric starts cracking, fading, and thinning.
That’s where back seat covers make a real difference.
Installing seat covers is one of the simplest and most cost-effective ways to protect your interior and extend the life of your seats. The good news is—you don’t need professional tools or experience to do it right.
This guide explains how to put on back seat covers correctly, avoid common mistakes, and keep them from shifting, wrinkling, or wearing out prematurely.
Why Back Seat Covers Are Important
Seat covers do more than improve looks. They protect your investment.
Benefits of Back Seat Covers
| Benefit | Why It Matters |
|---|---|
| Protects against wear | Prevents cracking and fabric thinning |
| Shields from stains | Food, drinks, pet accidents |
| UV protection | Reduces fading from sunlight |
| Easy cleaning | Covers are removable and washable |
| Improves resale value | Preserves original upholstery |
Before You Start: What to Check First
Before installing, confirm these details.
Seat Compatibility Checklist
-
Split bench (60/40 or 50/50)?
-
Fixed or removable headrests?
-
Built-in seatbelt guides?
-
Rear armrest or cup holders?
-
Child seat anchors (LATCH)?
Important:
Always use airbag-compatible seat covers if your vehicle has side airbags in the rear seats.
Tools You May Need
Most installs require only basic items.
| Tool | Purpose |
|---|---|
| Seat covers (rear set) | Main protection |
| Scissors or utility knife | Small precision cuts |
| Flashlight | Visibility under seats |
| Coat hanger or trim tool | Pulling straps |
| Marker or chalk | Marking cut points |
How to Put On Back Seat Covers (Step-by-Step)
Rear seats have two parts:
-
Backrest
-
Bottom bench
They must be installed separately for a clean fit.
Part 1: Installing the Backrest Cover
Step 1: Remove Seatbelts From Guides (If Possible)
Some vehicles allow seatbelt removal from guides or plastic loops.
If removable, detach them carefully.
If not removable, you’ll cut small slits later.
Step 2: Remove the Headrests
Most headrests pull straight up.
Others require pressing a release button.
Remove all rear headrests before proceeding.
Step 3: Slide the Cover Over the Backrest
-
Pull the seat slightly forward
-
Slide the cover from top to bottom
-
Align seams carefully
Pro Tip:
Wrinkles mean misalignment. Fix them now—later adjustments are harder.
Step 4: Secure Hooks, Straps, and Velcro
Most covers use:
-
Elastic straps
-
Velcro flaps
-
Hook-and-loop fasteners
Pull straps evenly and do not overtighten.
Step 5: Mark and Cut Headrest Openings
Never cut blindly.
-
Feel for headrest posts
-
Mark positions
-
Cut small vertical slits (¼ inch)
Slits should be parallel to the seat, not horizontal.
Step 6: Reinstall Seatbelts
-
Locate belt exit points
-
Cut minimal slits
-
Ensure belts move freely
Seatbelts must never bind or twist.
Step 7: Reinstall Headrests
-
Slide covers onto headrests
-
Secure straps
-
Reinsert headrests firmly
Check movement and alignment.
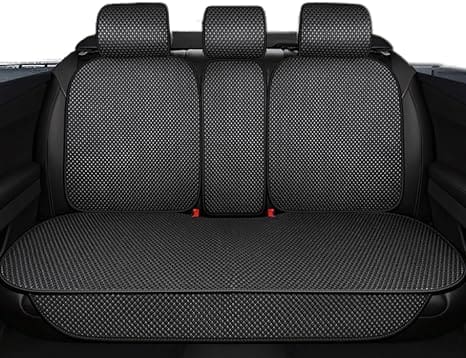
Part 2: Installing the Bottom Bench Cover
Step 1: Position the Cover
Lay the cover evenly over the seat base.
Align seams and corners.
Step 2: Lift the Bench (If Possible)
Some rear seats lift upward.
This gives better access to straps and hooks.
Step 3: Secure Under-Seat Straps
-
Pull straps beneath the seat
-
Attach hooks to metal seat frame
-
Avoid plastic trim pieces
Step 4: Adjust Tension Evenly
Tighten gradually.
Over-tightening causes wrinkles and discomfort.
Step 5: Final Fit Check
Sit on the seat.
Move side to side.
Adjust if needed.
A good cover should:
-
Stay in place
-
Feel smooth
-
Not shift during entry or exit
Common Mistakes to Avoid
| Mistake | Why It’s a Problem |
|---|---|
| Cutting holes too early | Misalignment |
| Over-tightening straps | Wrinkles & tearing |
| Blocking airbags | Serious safety risk |
| Ignoring seatbelts | Unsafe and illegal |
| Buying wrong size | Poor fit & wear |
How to Make Seat Covers Last Longer
-
Vacuum weekly
-
Wash covers per manufacturer instructions
-
Avoid sharp objects in back seat
-
Re-tighten straps every few months
-
Keep pets on protective liners
How Often Should You Replace Seat Covers?
| Usage Type | Replacement Interval |
|---|---|
| Daily family use | 2–3 years |
| Pet transport | 1–2 years |
| Light use | 4–5 years |
Quality materials last longer and protect better.
FAQ Section
Do I need to remove the rear seat completely?
No. Most installations are done with seats in place.
Can I install seat covers over leather?
Yes. Seat covers protect leather from cracking and UV damage.
Are universal seat covers safe?
Yes—if labeled airbag compatible.
Should seat covers feel tight?
Snug is good. Over-tight is not.
Can I wash back seat covers?
Most are machine washable. Always check the label.
Final Thoughts
Installing back seat covers isn’t difficult—it just requires patience and proper alignment. When done right, seat covers protect your interior, improve comfort, and save you from costly upholstery repairs.
Take your time.
Follow the steps.
Get clear idea how to Put On Back Seat Covers.
And your back seats will stay clean, protected, and like new for years.