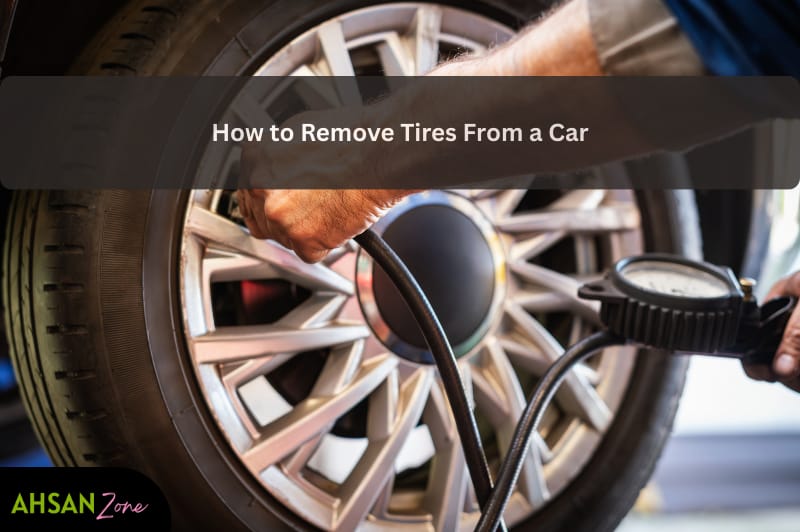
How to Remove Tires From a Car (Step-by-Step Guide by a Professional Mechanic)
Flat tires never come with a warning.
They happen on highways, parking lots, and even in your driveway.
Knowing how to remove tires from a car safely is not just a skill.
It is basic roadside survival for every driver in the U.S.
The good news?
The process is nearly the same for cars, SUVs, crossovers, vans, and light trucks.
In this guide, I’ll walk you through the exact method professional mechanics use, with safety tips most articles miss.
Each step is simple.
Each step matters.
Why Learning Tire Removal Matters
Many drivers rely on roadside assistance.
But help may take hours in rural areas.
Or your phone may be dead.
Knowing this skill means:
-
You stay safe
-
You stay mobile
-
You protect your vehicle from damage
Tools You’ll Need to Remove a Tire
Before touching the wheel, make sure you have the right tools.
Essential Tools Checklist
| Tool | Purpose |
|---|---|
| Car jack (scissor or hydraulic) | Lifts vehicle off the ground |
| Lug wrench / tire iron | Loosens and tightens lug nuts |
| Wheel chocks or bricks | Prevents vehicle movement |
| Spare tire | Replacement wheel |
| Flashlight | Night or low-light visibility |
| Gloves | Hand protection |
| Reflective vest | Roadside safety |
| Tire pressure gauge | Ensures correct inflation |
Pro Tip:
Keep all tools together in your trunk.
Loose tools waste time in emergencies.
Step 1: Move the Car to a Safe Location
If your tire goes flat while driving:
-
Slow down gradually
-
Avoid sharp steering
-
Pull over to a flat, solid surface
Best Places to Stop
-
Parking lots
-
Road shoulders (wide ones only)
-
Driveways
Avoid:
-
Curves
-
Hills
-
Soft ground
Step 2: Secure the Vehicle Completely
Safety comes before speed.
Do This Every Time
-
Turn on hazard lights
-
Engage the parking brake
-
Place wheel chocks behind opposite tires
If no chocks are available:
-
Use bricks
-
Use large stones
-
Use wooden blocks
This prevents rolling while the car is lifted.
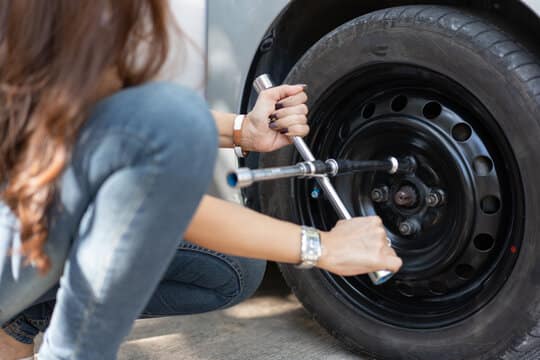
Step 3: Loosen Lug Nuts (Before Lifting)
This step is critical.
Why It Matters
Loosening lug nuts while the tire is on the ground:
-
Prevents wheel spin
-
Reduces strain on the jack
How to Do It
-
Fit the wrench firmly on the lug nut
-
Turn counter-clockwise
-
Break tension, but do not remove fully
Loosen each nut about one turn.
Step 4: Jack Up the Vehicle Correctly
Place the jack only on the manufacturer’s jacking point.
Where to Find Jack Points
-
Vehicle owner’s manual
-
Marked frame notches
-
Reinforced pinch welds
Lift the vehicle 4–6 inches off the ground.
That’s all you need.

Step 5: Remove the Tire
Now fully remove the loosened lug nuts by hand.
Important Tips
-
Place lug nuts in a pocket or container
-
Do not let them roll away
-
Pull the tire straight off the hub
If the tire is stuck:
-
Kick gently from the side
-
Pull evenly with both hands
Step 6: Mount the Spare Tire
Line the spare wheel with the wheel studs.
Push it on firmly until flush.
Reinstall Lug Nuts
-
Hand-tighten first
-
Turn clockwise
-
Use a star pattern
Do not fully tighten yet.
Step 7: Lower the Vehicle Slowly
Lower the jack until:
-
The tire touches the ground
-
The car still has minimal jack support
Now tighten lug nuts with the wrench.
Correct Tightening Pattern
| Pattern | Reason |
|---|---|
| Star / Criss-cross | Even pressure |
| Opposite sides | Prevents rotor warping |
Step 8: Fully Lower and Final Tighten
Lower the vehicle completely.
Remove the jack.
Now tighten lug nuts firmly.
Do not jump on the wrench.
Controlled force is best.
Step 9: Check Tire Pressure
Spare tires are often under-inflated.
Recommended PSI
Check:
-
Driver-side door sticker
-
Owner’s manual
Drive to a gas station and adjust pressure immediately.
Common Mistakes to Avoid
| Mistake | Why It’s Dangerous |
|---|---|
| Jacking on plastic trim | Vehicle damage |
| Tightening before lowering | Wheel misalignment |
| Skipping wheel chocks | Rollaway risk |
| Ignoring torque sequence | Brake rotor warping |
How Long Can You Drive on a Spare Tire?
| Spare Type | Max Speed | Max Distance |
|---|---|---|
| Full-size spare | Normal | Unlimited |
| Donut spare | 50 mph | 50–70 miles |
Temporary spares are not permanent solutions.
Safety Notes from a Mechanic
-
Never crawl under a car supported only by a jack
-
Avoid changing tires on slopes
-
Replace damaged lug nuts immediately
-
Retorque lug nuts after 50 miles

FAQ Section
Can I remove a tire without a jack?
No.
Doing so risks suspension and frame damage.
Should lug nuts be tightened with an impact wrench?
Only for removal.
Final tightening should be manual for accuracy.
Why does my tire stick to the hub?
Rust buildup causes bonding.
A light kick usually frees it.
Is changing a tire the same on SUVs and trucks?
Yes.
Only jack height and wheel weight differ.
Final Verdict
Flat tires are stressful.
But the solution doesn’t have to be.
With the right tools and the right steps, any driver can safely remove and replace a tire.
Practice once at home.
It makes all the difference on the road.
Prepared drivers stay in control.